

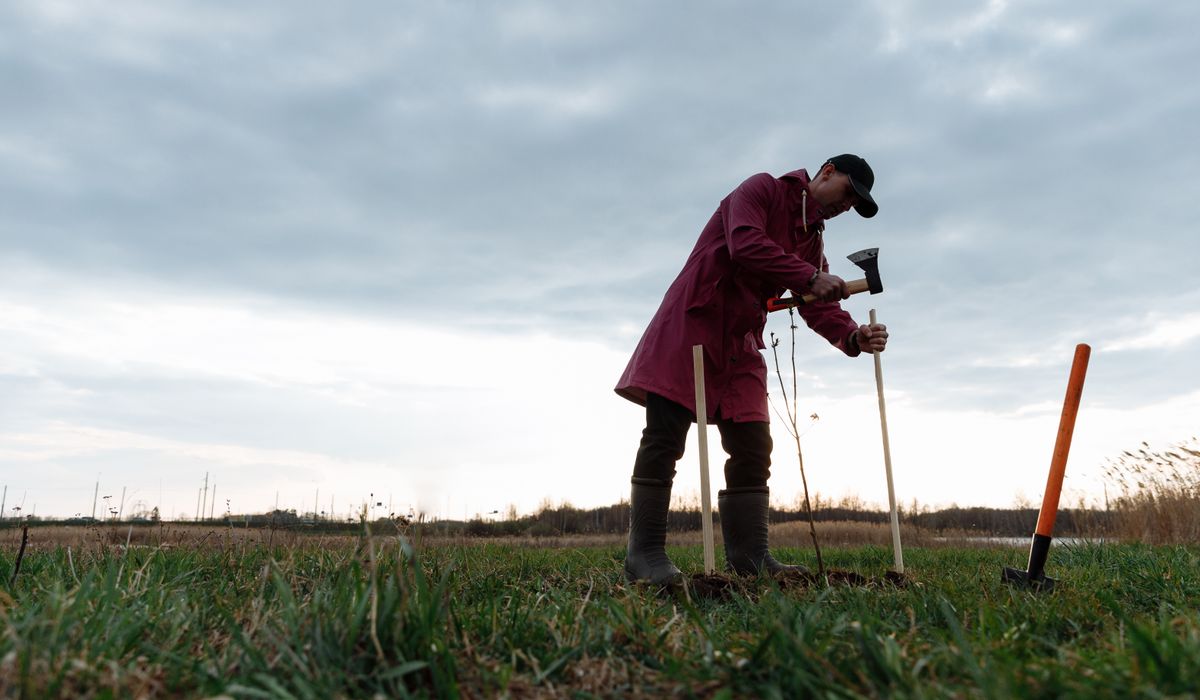
Green woodworking is the craft of taking freshly felled timber and shaping it whilst it is still full of sap. Instead of waiting years for boards to dry, you split, shave, and shape unseasoned wood using hand tools alone. For anyone interested in sustainable living, it is a natural fit: no power tools, no shipping timber across the world, and no waste from sawdust and offcuts that can go straight back onto the compost heap.
Why green woodworking belongs in a sustainable garden
Green wood is easier to work than dry timber. A sharp drawknife will slice through a hazel rod like a hot knife through butter, whilst the same rod after a year in the shed will fight you. That ease means you can make useful things for the garden — plant labels, bean poles, tool handles, obelisks — without a workshop full of machinery. Coppiced woodlands in Britain have been managed this way for centuries. Cutting a stool of hazel or sweet chestnut on a rotation lets light reach the woodland floor, encouraging wildflowers and insects. You are not just making a dibber; you are part of a cycle that keeps a wood healthy.
Choosing and sourcing unseasoned timber
Look for straight-grained logs free of knots. Ask a local woodland owner, a tree surgeon, or a neighbour who has just pruned an ash tree. The timber needs to be fresh — ideally used within a few days of felling. If you cannot work it straight away, keep it cool and damp. A log 20–30 cm across and a metre long is plenty for a first session.
- Ash: strong, splits cleanly, superb for handles and stool legs.
- Hazel: flexible and easy to shave, ideal for woven hurdles and pea sticks.
- Birch: soft and forgiving for beginners, but it rots quickly outdoors.
- Oak: durable and beautiful, though tougher on both blade and arms.
The shave horse: your foot-operated vice
A shave horse is a simple bench with a hinged clamp. You sit astride it, press your foot on a treadle, and the clamp grips the wood. Both hands stay free for the drawknife. You can build one from scrap timber or buy a kit. Set the height so your forearms are roughly horizontal when you work. The clamp should hold the billet firmly without crushing it. For green wood, a wooden clamp is kinder than metal jaws, and a piece of leather on the bearing surface helps grip.
The drawknife: slicing, not scraping
A drawknife has a blade with two handles. You pull it towards you, either bevel up or bevel down. Bevel down removes thick shavings; bevel up gives finer control for finishing cuts. Keep the blade sharp — a dull drawknife is dangerous because you force it. Work with the grain. If the wood tears, turn the billet around. Take thin slices, not great gouges. Let the tool do the work.
- Stance: sit square on the horse, feet flat on the treadle.
- Grip: hold the handles lightly, thumbs towards the blade.
- Cut: pull smoothly from shoulder to hip, never towards your body.
- Stop: before your knuckles reach the clamp.
From log to billet: splitting green timber
You cannot shave a round log. You need to split it into billets. Use a froe and a wooden mallet for straight-grained wood. Place the froe on the end grain, tap it in, then lever the handle to run the split down the log. For larger logs, use a splitting axe and wedges. Always split along the pith, the soft centre. Follow the natural cracks. Green wood splits more easily than dry, especially ash and oak. Once you have a billet, draw the shape you want with a pencil or a piece of charcoal.
Your first projects and a few hard-won tips
Start with something simple: a tent peg, a garden dibber, a spare handle for a rake, or a spoon blank. These teach you the rhythm of splitting, shaving, and shaping. For a dibber, take a hazel billet, shave a point at one end, and round the other into a handle. It should take half an hour. Then try a stool leg: shave a taper, leave a tenon at the top. Remember that green wood shrinks as it dries. If you fit a leg into a dry seat, it will loosen. Make joints tight whilst the wood is wet, or allow for movement.
Work in a well-lit spot, keep your tools sharp, and sweep up shavings — they make excellent firelighters or compost. Do not force a cut. If the drawknife judders, sharpen it or take a thinner shaving. And do not leave green wood in a hot shed; it will crack. Store it in a cool, airy place, off the ground, with the ends sealed with paint or wax if you are not using it straight away.
The joy of green woodworking is that it connects your garden to the woodland cycle. You coppice a hazel, split a log, shave a handle, and plant a bean pole. Nothing is wasted, nothing is plugged in. Start with one log, one shave horse, and one sharp drawknife. The rest follows.




John Doe
14 January, 2022Having no content in post should have adverse..
Chauffina Carr
10 April, 2022We use these tests all time! Killer stuff!
Jim Séchen
16 July, 2022Thanks for all the comments, everyone!