

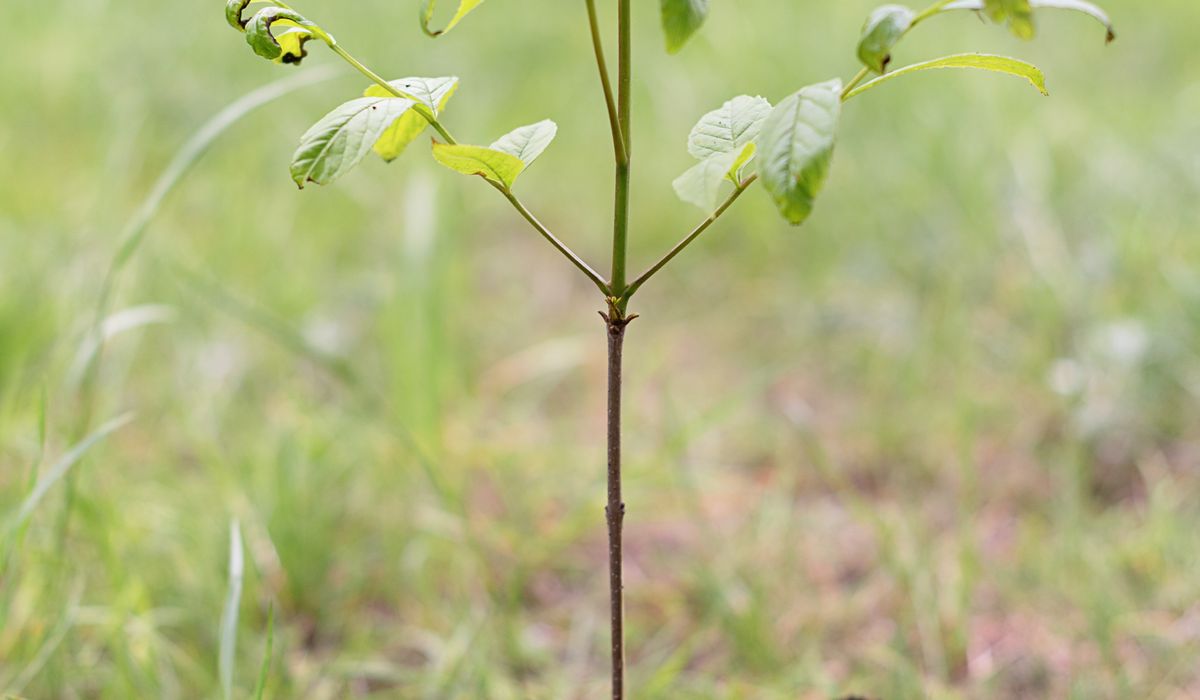
There are few more satisfying ways to connect a woodland garden to the kitchen table than carving a spoon from a fresh branch. Green wood — timber that has not been dried — cuts like cheese, smells of sap and forest, and asks for nothing more than a sharp edge and a little patience. A spoon is the perfect first project: small enough to finish in an afternoon or two, useful enough to earn its place beside the hob, and forgiving enough to teach you the grain without demanding a workshop full of machinery.
Why Green Wood Is Worth Knowing
Carving green wood sits neatly within a sustainable life. It uses prunings, thinnings and coppice growth that might otherwise be burned or chipped. It needs no kiln, no electricity and no imported timber. The wood is local, renewable and full of character. Birch and sycamore are two of the best species for a beginner. Birch is pale, fine-grained and pleasantly soft, whilst sycamore is creamy, close-grained and less likely to split. Both grow readily across Britain, and both take a fine finish from a knife.
Green wood is also kinder to your tools and your hands than dry timber. It yields to a sharp blade rather than fighting it. The trade-off is that it moves as it dries, so a spoon carved today may warp slightly over the coming weeks. That is not a fault; it is part of the charm. A little warp makes the spoon fit the hand, and it proves the object came from a living tree rather than a factory.
Choosing and Cutting Your Branch
Start with a straight, clean branch that is free of side shoots, knots, cracks and rot. You want timber that will split and carve predictably. Aim for a diameter of about 6–8 cm and a length of 25–30 cm. That gives you enough length for a handle and enough width for a decent bowl.
- Species: birch or sycamore are ideal. Hazel, lime and willow also work well if you have them.
- Source: use a pruning from your own garden, a coppice stool, or a thinning operation in a sustainably managed wood. Never cut from a tree without permission.
- Timing: winter is traditional, when the sap is low, but green wood can be carved at any time if you keep it fresh.
- Cut: use a pruning saw and make a clean, angled cut that helps the tree heal. Leave the branch as long as you can manage.
If the branch is wide enough, split it in half along the pith with a small axe and a wooden mallet. A half-log gives you a flat back, which makes the spoon much easier to hold and carve. If you are using a smaller branch, carve it whole and let the natural round shape become the top of the handle.
The Tools You Actually Need
You do not need a full toolkit. A few good hand tools will see you through.
- Small axe or hatchet: for removing bulk waste and roughing out the blank.
- Sloyd knife or whittling knife: for shaping the handle, refining the neck and making clean stop cuts.
- Crook knife: for hollowing the bowl. A curved blade with a handle on each end is easiest for beginners.
- Pruning saw: for cutting the branch cleanly in the first place.
- Sharpening stone and strop: a sharp tool is safer and more enjoyable than a blunt one.
- Chopping block and gloves: work on a stable block, keep your hands behind the blade, and never cut towards your body.
Keep your tools sharp. Green wood is forgiving, but a dull edge will bruise the fibres and make the work harder than it needs to be. A few minutes with a stone and strop every half hour will transform the experience.
Roughing Out the Spoon
With the branch split or selected, draw your spoon outline on the flat face. Put the bowl at one end and the handle at the other. A simple eating spoon is about 20 cm long, with a bowl roughly 5 cm across and 2 cm deep. Keep the handle generous at first; you can always remove more wood later.
Use the axe to remove the waste outside the outline. Work in short, controlled strokes, cutting down to the block rather than towards your leg. Make stop cuts at the neck of the spoon so the fibres do not tear. Turn the blank often and sight along it to keep the curves even. Your aim is not perfection yet; it is a rough, symmetrical blank that feels balanced in the hand.
Carving the Bowl and Handle
The crook knife does the delicate work. Secure the blank against your chest or on a carving block. Take light cuts across the grain, clearing the chips often. Do not pry at the wood; let the edge slice. Work from the centre of the bowl outwards, deepening gradually until you have a hollow that is even and about 1.5–2 cm deep. If the wood starts to split, stop and sharpen your tool.
Shape the handle with the sloyd knife. You can leave it faceted, which looks handsome and feels secure, or round it smooth with gentle paring cuts. Thin the neck where handle meets bowl, but leave enough strength for stirring and serving. A spoon should feel light but not fragile. Test it in your hand as you go; your thumb and forefinger will tell you where it needs refining.
Drying, Finishing and Care
Green wood needs to dry slowly to avoid cracks. Put the spoon in a paper bag with its own shavings, or leave it in a cool, airy shed for two to four weeks. Avoid radiators, sunny windowsills and sealed plastic. Once it feels dry and sounds dull when tapped, you can sand it if you wish, though a tool-finished surface has a lovely texture all its own.
Finish with a food-safe oil such as raw linseed, flaxseed or walnut oil. Warm the oil slightly, rub it in with a cloth, leave it for an hour, then wipe off the excess. Repeat over several days until the wood stops drinking. Never use olive oil, as it can turn rancid. Wash your spoon by hand in warm water, dry it promptly, and re-oil it occasionally. It will darken and soften with use, becoming a small record of the woodland it came from — and of the afternoon you spent shaping it.






John Doe
14 January, 2022Having no content in post should have adverse..
Chauffina Carr
10 April, 2022We use these tests all time! Killer stuff!
Jim Séchen
16 July, 2022Thanks for all the comments, everyone!